
Scheduling blog posts in WordPress is a great way to plan content ahead and ensure posts go live at the right time even when you're away.
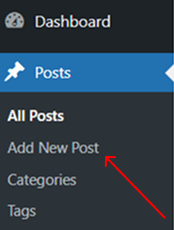
Write Your Blog Post. Log in to your WordPress Dashboard. Go to "Posts", "Add New".
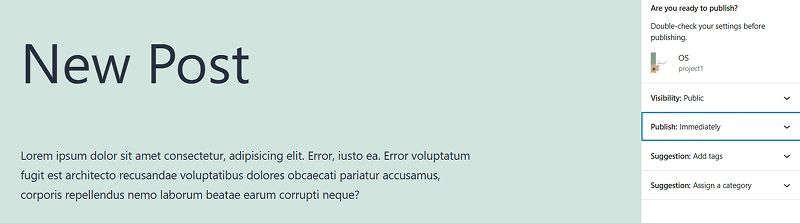
Write your blog post as usual.
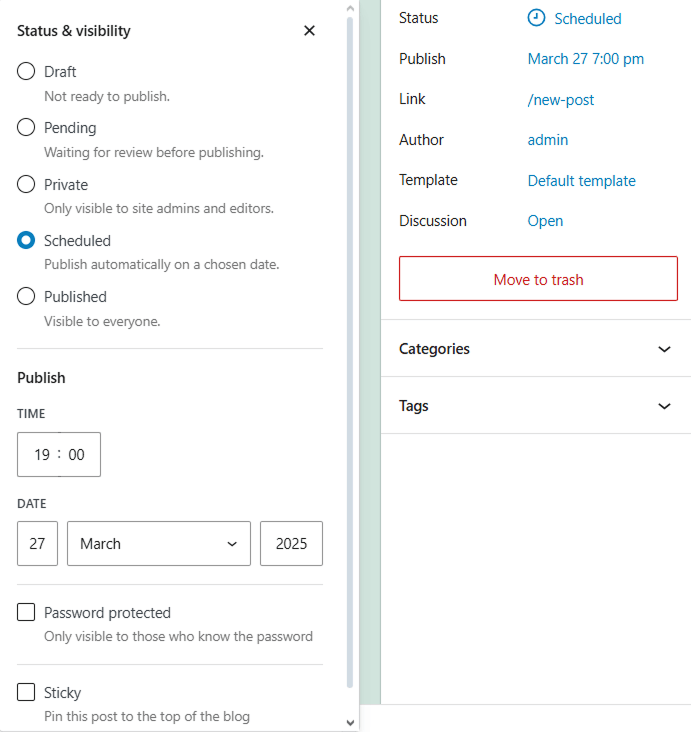
Look at the right sidebar in the Post Editor. Find the "Publish" section. Click the date and time under "Publish Immediately".
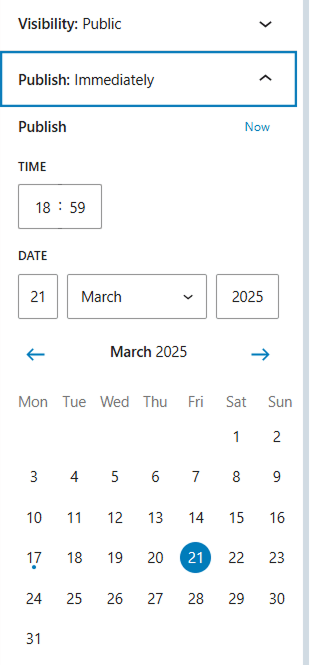
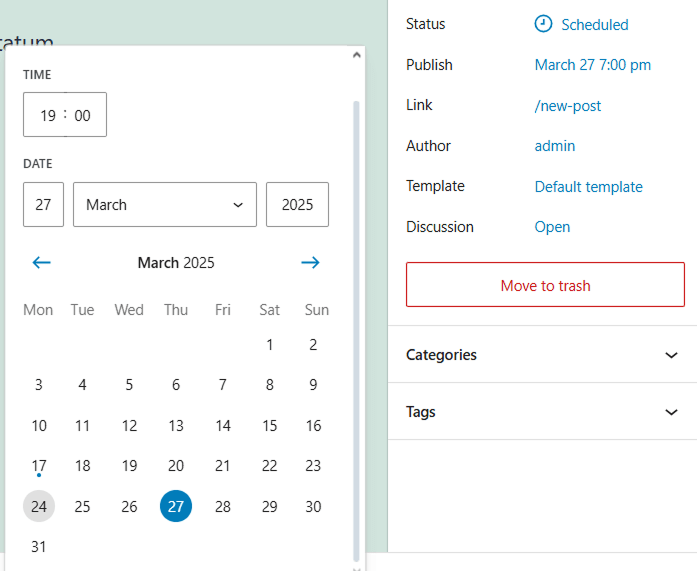
Select your desired date and time for publication.
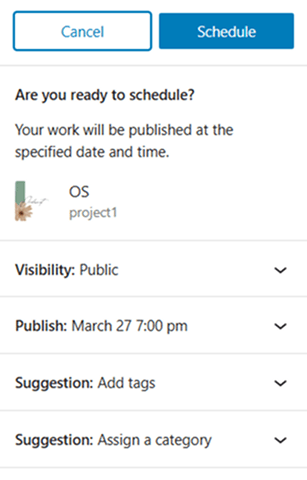
Click "Schedule" instead of "Publish".
To view all scheduled posts: Go to "Posts", "All Posts". Click the "Scheduled" tab to see upcoming posts.

To edit: Open the post, adjust the schedule, and click Update.
Reschedule: Open the scheduled post. Change the date/time in the "Publish" section.
Click "Update". Un-Schedule (Make it a Draft): Open the post and click "Switch to Draft" .
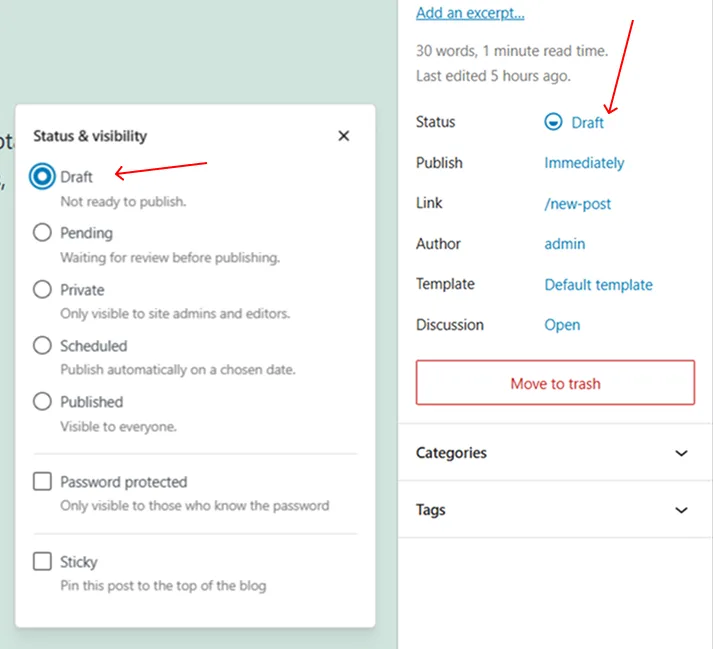
Click "Save Draft". Now, it won't be published automatically.
If a post doesn't publish at the set time, it might be due to server issues or caching plugins. Use a plugin like "WP Missed Schedule Posts Publisher" to fix this issue. Wrong Time Zone. Go to "Settings", "General" .
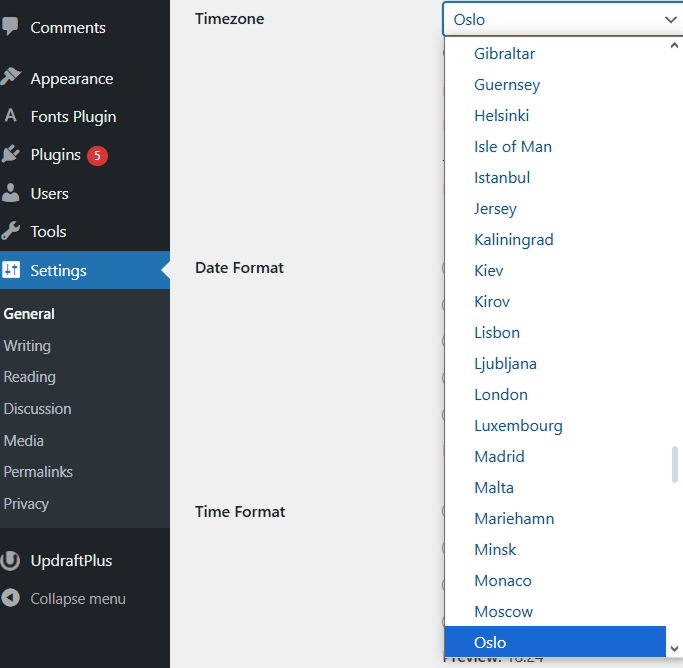
Check if your time zone is correct. Adjust if needed and click "Save Changes". Scheduling WordPress posts saves time, boosts consistency, and improves engagement. Set it up correctly, and your blog will publish content even while you're away.
