
The easiest way to customize fonts and colors in most WordPress themes is through the WordPress Customizer. This built-in tool allows you to see real-time changes as you modify various aspects of your theme.
Customize Fonts and Colors with the Customizer.
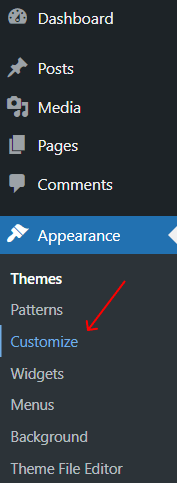
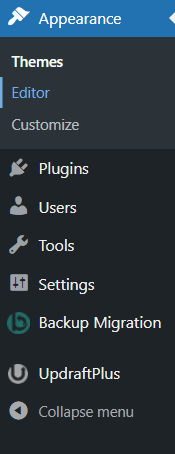
Access the WordPress Customizer:
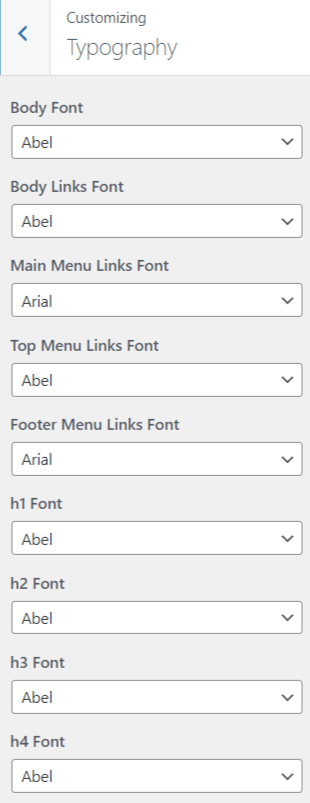
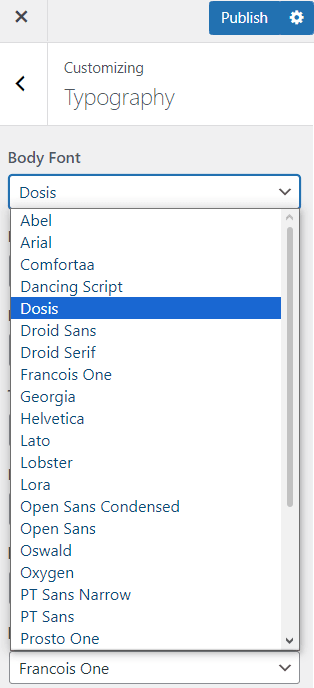
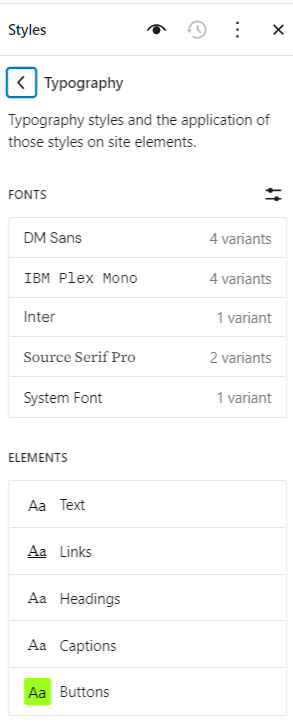
Find the Typography Section:
Change Fonts:
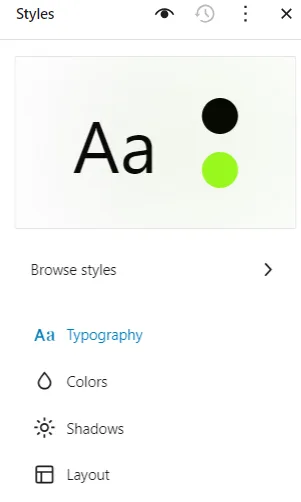
Find the Colors Section:
Return to the main Customizer menu and look for "Colors" or "Color Scheme".
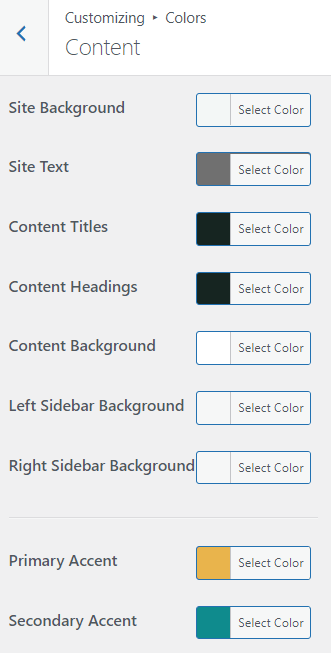
You'll be able to customize the colors of various elements, depending on the theme. For example:
Adjust Colors:

Preview and Publish.
Once you're satisfied with the font and color changes, click "Publish" to save your changes.
Many premium and customizable themes come with their own "Theme Options" panels. These panels often provide more detailed control over fonts and colors compared to the default WordPress Customizer.
Access Theme Options.
From your WordPress dashboard, go to "Appearance" → "[Your Theme's] Options" or "Theme Panel".
,
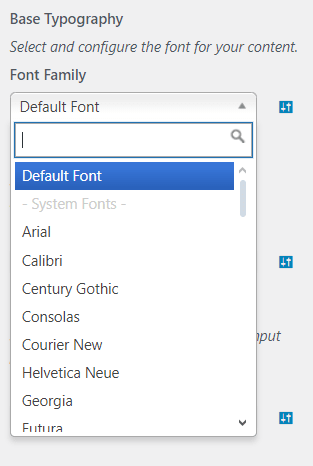
Navigate to Typography Settings:
Customize Colors:
Save Changes.
Once you've made the necessary adjustments, click "Save" or "Publish" to apply the changes to your site.
For more advanced customizations, you can use "CSS (Cascading Style Sheets)" to control the fonts and colors on your WordPress site. This method gives you full flexibility over design changes.
Steps to Customize Fonts and Colors Using Custom CSS.
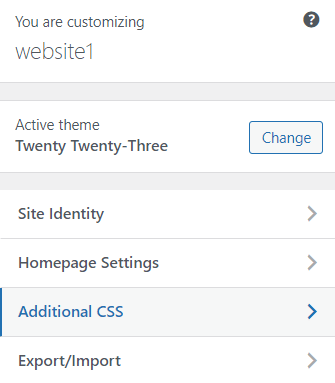
Access the Customizer's Additional CSS Panel:
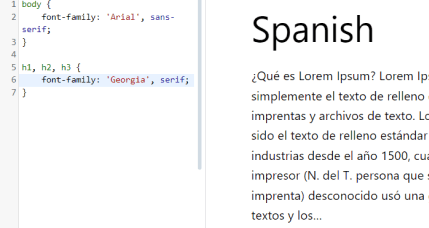
Customizing Fonts with CSS.
To change fonts via CSS, you'll need to use the "font-family" property. Here's a basic example:
To change the body text font
h1, h2, h3 { font-family: 'Georgia', serif; }To change the font for headings
You can replace "Arial" and "Georgia" with any font family, including Google Fonts.
Customizing Colors with CSS.
To change text or background colors, use the "color" or "background-color" properties:
Changes the body text color.
background-color: #f4f4f4; }Changes the background color.
a {color: #0073aa;}Changes link color.
a:hover {color: #005177; }Changes link color when hovered.
Replace the hex codes ( #333,#f4f4f4) with the colors you want to use.
Publish Changes.
After adding your custom CSS, click "Publish" to apply the changes to your live site.
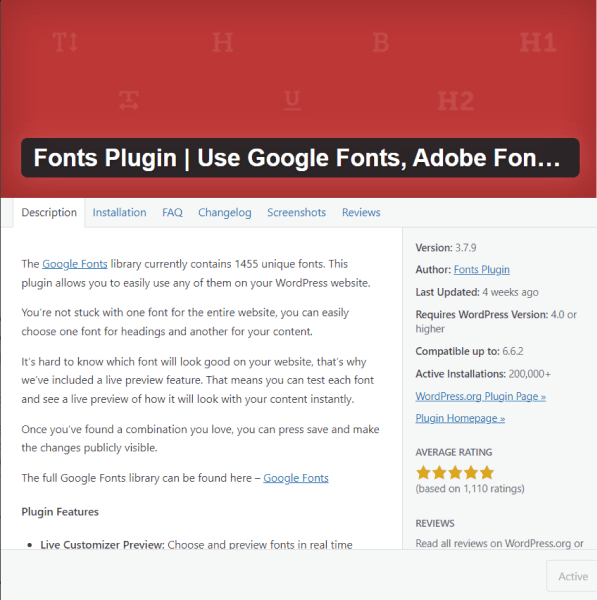
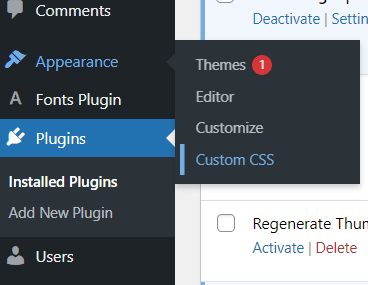
If your theme doesn't offer enough customization options or you're not comfortable with CSS, you can use plugins to customize fonts and colors. There are plenty of plugins available that make this process easy.
Plugins for Font Customization:
Plugins for Color Customization:
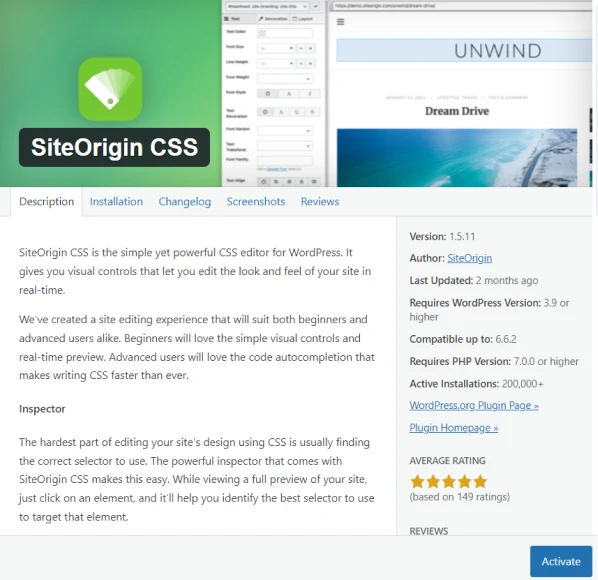
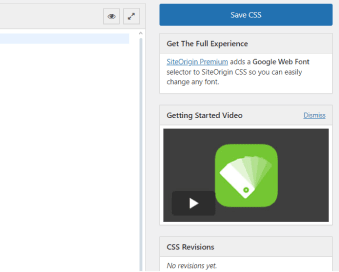
SiteOrigin CSS:
Choose Readable Fonts. Use fonts that are easy to read. Avoid overly decorative fonts for body text, and use sans-serif fonts (like Arial or Helvetica) for better readability.
Limit Your Color Palette. Stick to a few core colors (usually 2-3) to create a clean, professional look. Overloading your site with too many colors can be distracting.
Use Contrast. Ensure there's enough contrast between your text and background colors to improve readability.
Consistency is Key. Keep fonts and colors consistent across your site to maintain a cohesive design. This helps build brand recognition and provides a more polished appearance.
Customizing fonts and colors in your WordPress theme is an important step in creating a visually appealing, user-friendly website. Whether you're using the WordPress Customizer, theme-specific options, CSS, or plugins, you have plenty of ways to modify these elements to match your brand identity. By following the steps in this guide, you can easily create a design that enhances your content and engages your visitors.
Other Worpress Articles that may be interesting for you:
