
If your WordPress site is acting strangely - showing errors, white screens, or broken features - debugging helps you find and fix the problem. This guide explains what debugging is, why it matters, and how to use it to solve common WordPress issues.
Debugging is the process of identifying and fixing errors in your website's code. WordPress has built-in tools to help you:
Turn on debugging when:
Enable Basic Debugging (wp-config.php);
Connect to your site via FTP (FileZilla) or hosting file manager;
Open "wp-config.php" (in your root WordPress folder).
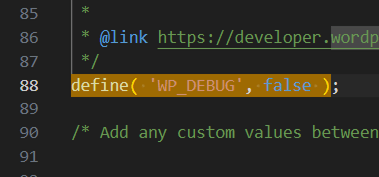
Find this line:
define( 'WP_DEBUG', false )
Replace it with:
define( 'WP_DEBUG', true ); // Enable debugging
define( 'WP_DEBUG_LOG', true ); // Log errors to /wp-content/debug.log
define( 'WP_DEBUG_DISPLAY', false ); // Hide errors from visitors
Save the file.
Now, errors will be saved in "wp-content/debug.log" (instead of showing publicly).
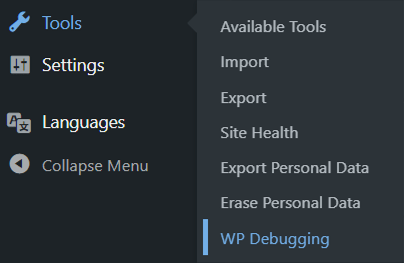
If editing files sounds scary, use:
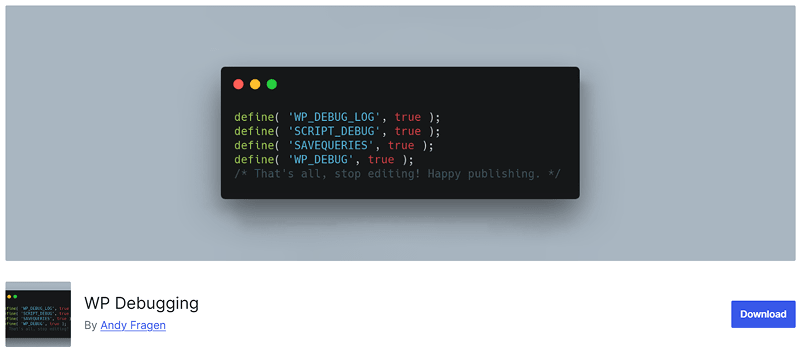 WP Debugging
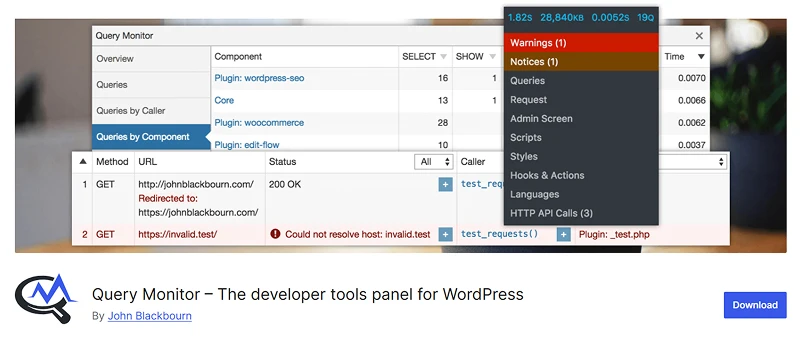 Query Monitor
Steps for WP Debugging Plugin:
For deeper troubleshooting, add to "wp-config.php":
Log database queries (slow performance)
define( 'SAVEQUERIES', true );
Then check queries with:
Add this to footer.php temporarily
if ( current_user_can( 'administrator' ) ) {
global $wpdb;
print_r( $wpdb->queries );
}
After fixing errors, disable debugging by setting:
define( 'WP_DEBUG', false );
Leaving it on can:
Debugging helps you find hidden WordPress errors and fix them before they hurt your site. Start with WP_DEBUG in wp-config.php, then use plugins like Query Monitor for deeper checks.
Other Worpress Articles that may be interesting for you:
