
1. Log in to your WordPress dashboard.
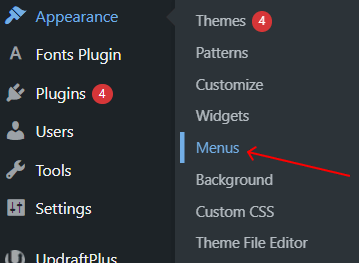
2. Navigate to "Appearance > Menus" in the left-hand sidebar.
Click the "Create a New Menu" link near the top of the page.

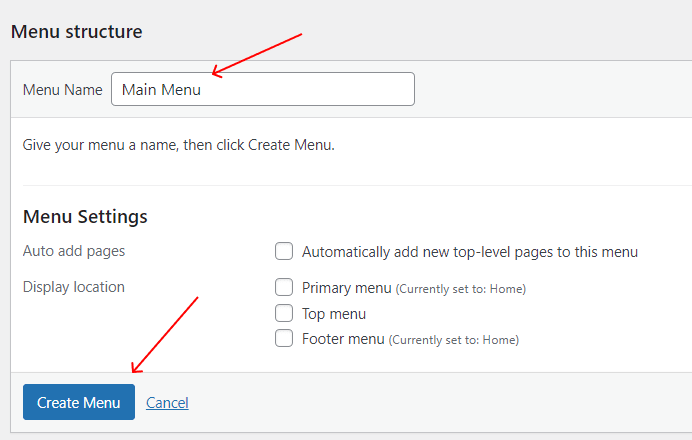
Enter a name for your menu (e.g., "Main Menu") in the text field.
Click "Create Menu".
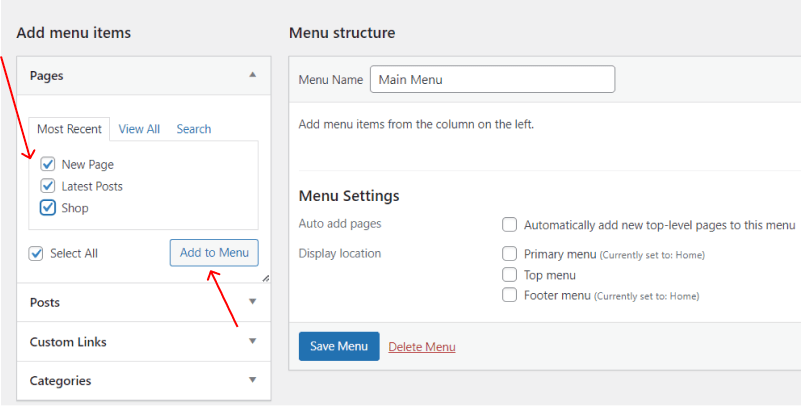
On the left side, you'll see options to add items to your menu:
Select the items you want and click Add to Menu.
Drag and drop items in the menu structure to arrange them in your preferred order.
To create a dropdown menu:
Drag a menu item slightly to the right under a parent item. This will nest it as a submenu item.
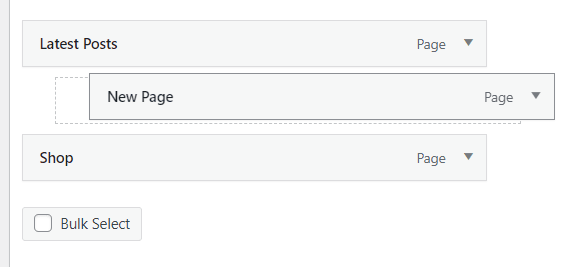
Repeat for additional submenu items.
Scroll down to the Menu Settings section.
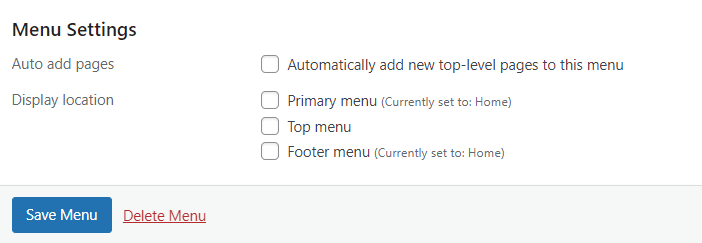
Choose where the menu will appear on your site:
Click "Save Menu" to apply your changes.
Add CSS classes: In the "Screen Options" (top-right of the page), check the box for "CSS Classes". This allows you to assign custom styles to menu items.
Add icons: Some themes or plugins support adding icons to menu items.

If you want to show menus in specific areas (like sidebars):
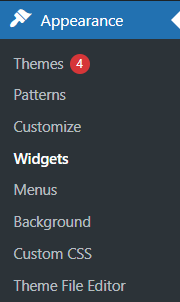
Go to "Appearance > Widgets".
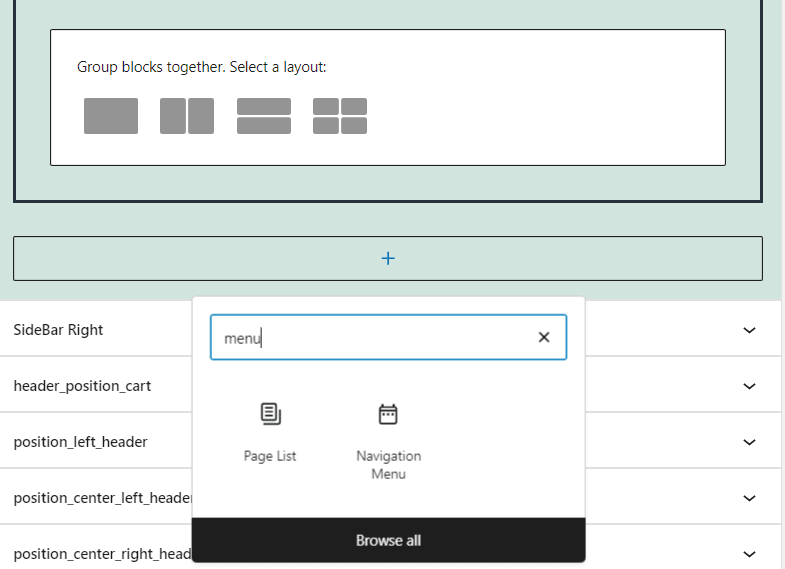
Drag the "Navigation Menu" widget to your desired widget area.
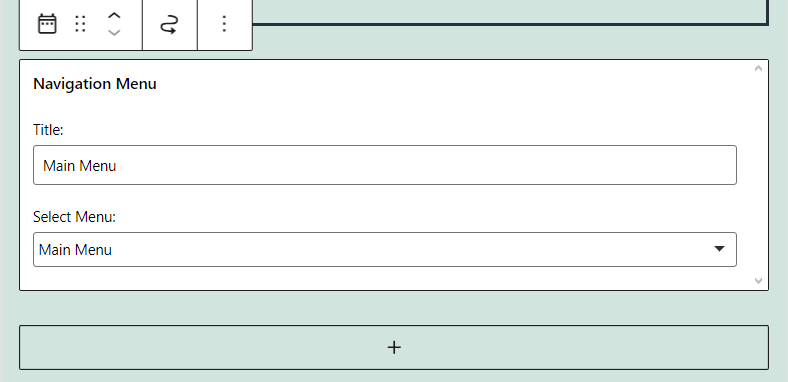
Select the menu you created and save.

Menu Location Not Visible: Some themes may not support all menu locations. Check your theme documentation.
Menu Changes Not Showing: Clear your site and browser cache.
Need More Features: Use a plugin like "Max Mega Menu" for advanced options like mega menus.
Other Worpress Articles that may be interesting for you: